Facebook (or Meta) is a boon for small businesses and enterprises alike because of the social media platform’s ability to connect audiences with these establishments. Owners or area managers can create a Facebook Page that they can use to add their information, update their customers and fans about what’s happening with their business and even set up online events for everyone to watch.
But what if you have multiple locations with one HQ? How can you manage all your locations?
The answer is to use the Facebook Store Page feature for all locations under your business.
The Facebook Store Page feature (can be hard to find)
When you want to create a page, you can do so as long as you have a personal Facebook account or a Meta Business Suite. The creation process is straightforward and you can fill out the page within 15 minutes. This usually works for businesses with one physical location or if you primarily sell online but have an occasional store set up during the weekends.
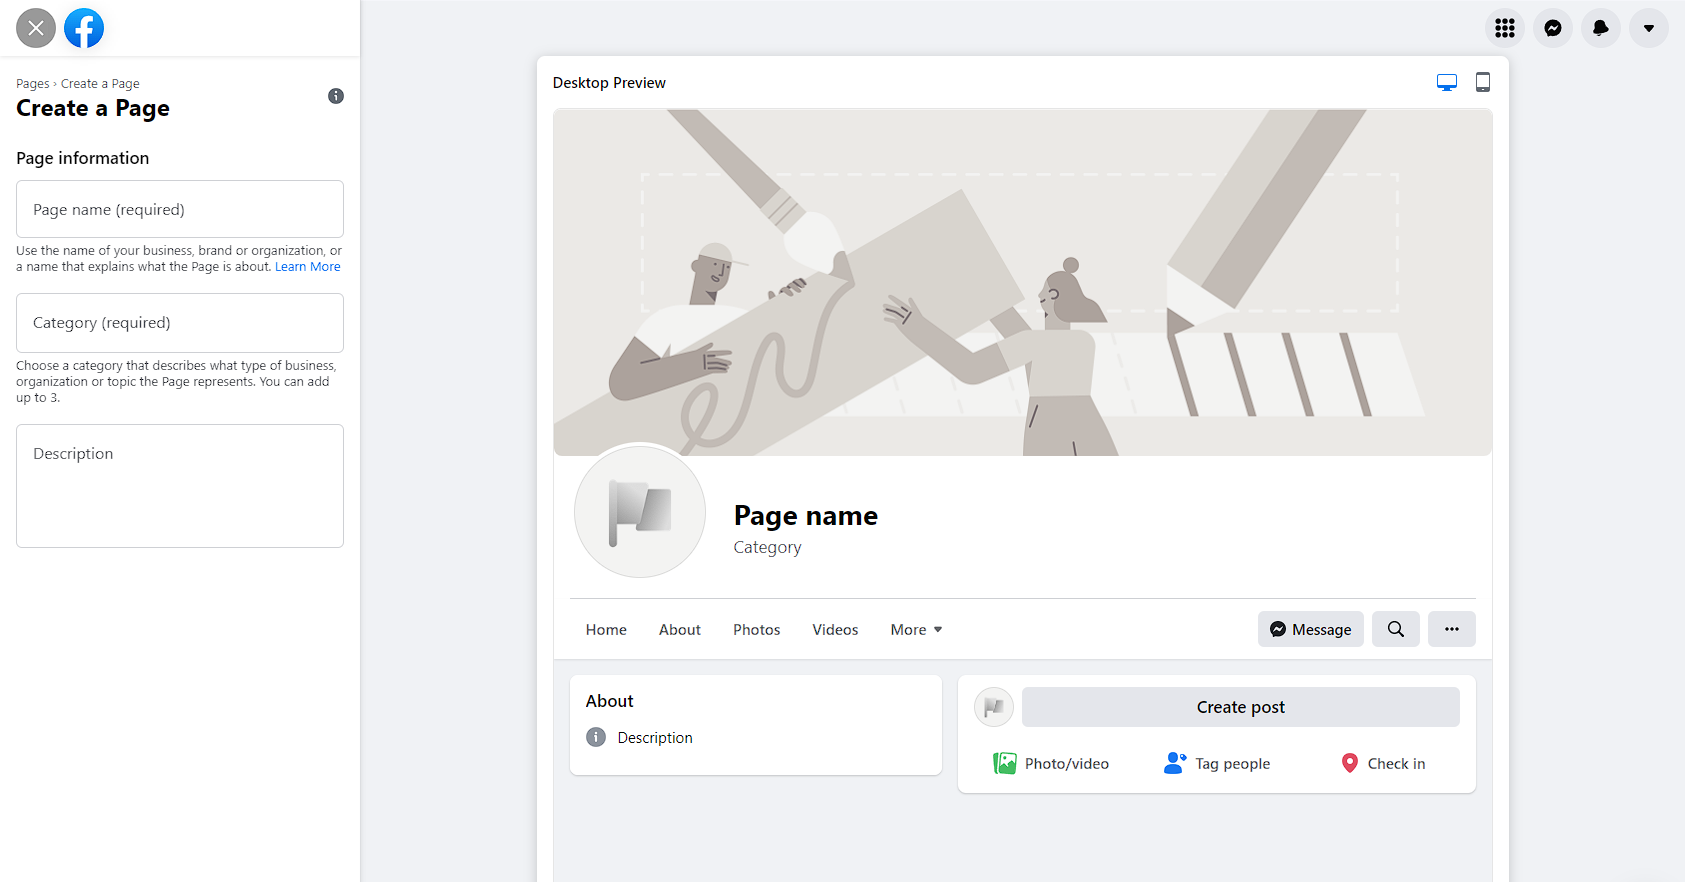
On the other hand, if you have several locations, would it be practical for you to create a page for each one?
Probably not, right?
Enter Facebook Store Pages. These are specific page structures that localise the customer’s experience. For example, if you have more than 100 locations and you happen to have a store in Potts Point, you can use a Store Page to promote an event or update from there instead of using one Facebook Page.
If you can’t find it anywhere on your profile or Business Suite UI, that’s understandable. It’ll take some Googling but you can access it here.
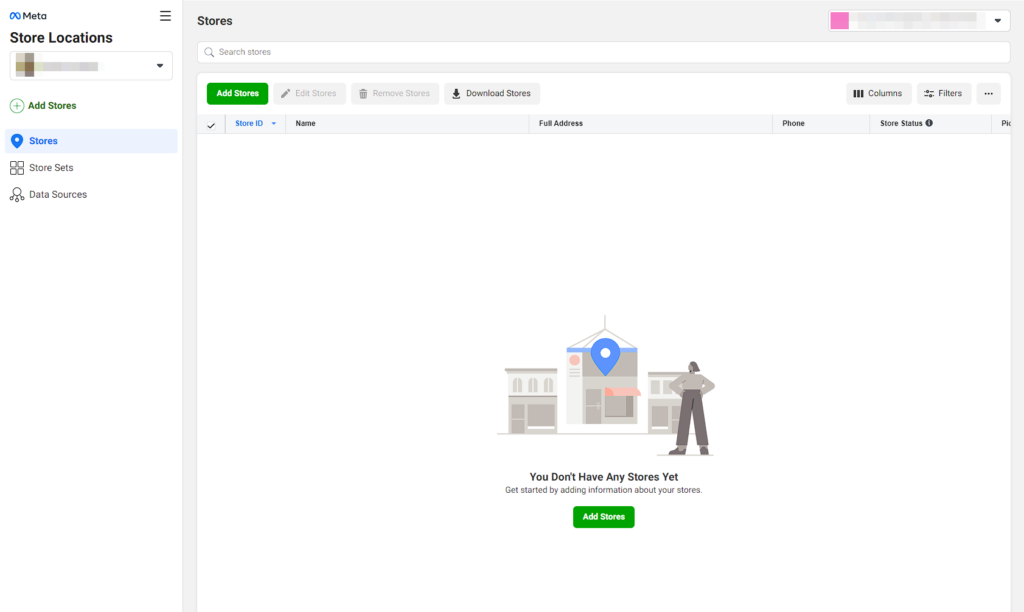
How is a Facebook Store Page different from a regular Facebook Page?
On the outside, a Facebook Store Page looks exactly like a regular Facebook Page. But the latter will represent the entire business whereas the Store Page will represent the specific physical location, so your main Facebook Page will not have its own store address – subsequent Store Pages will. All Store Pages will be connected to your main Page.
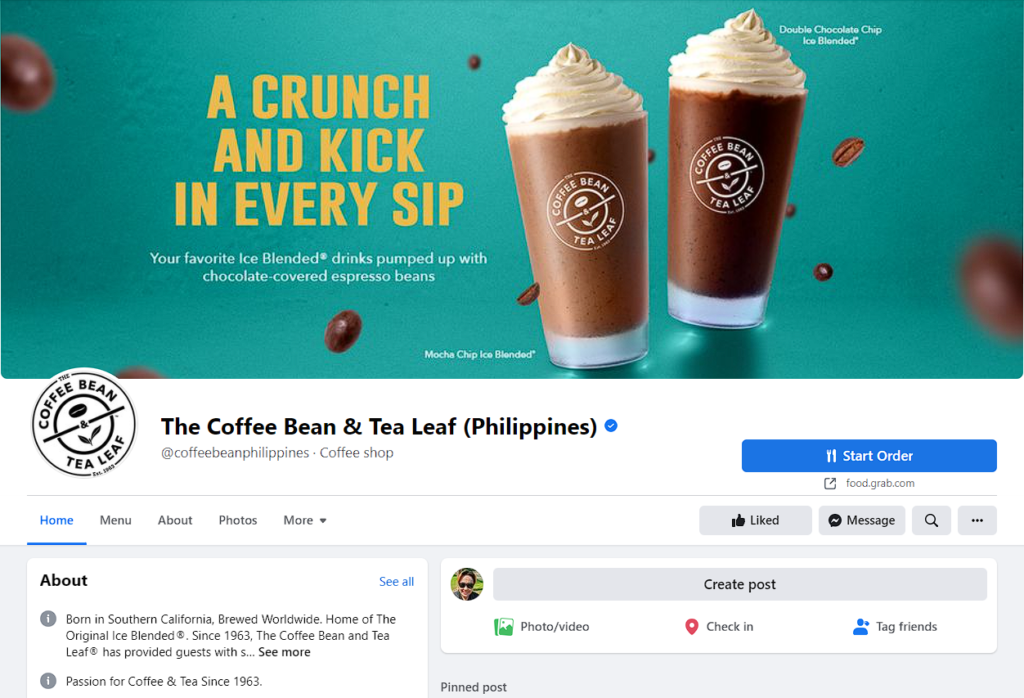
For instance, the Facebook Page for Coffee Bean & Tea Leaf in the Philippines is the main page. When you click “More,” you will see a link to see all stores within a region near where you are.
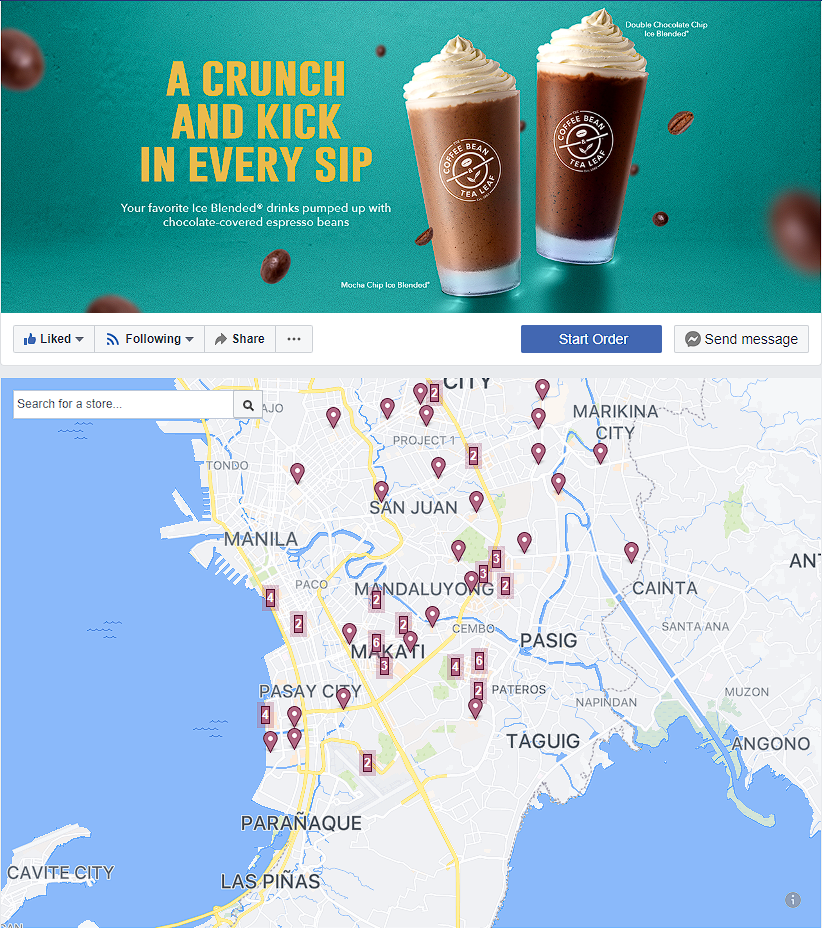
Each pin represents a physical location. If there are numbers, that means there are more locations within that area and you can zoom in to see where they are specifically located.
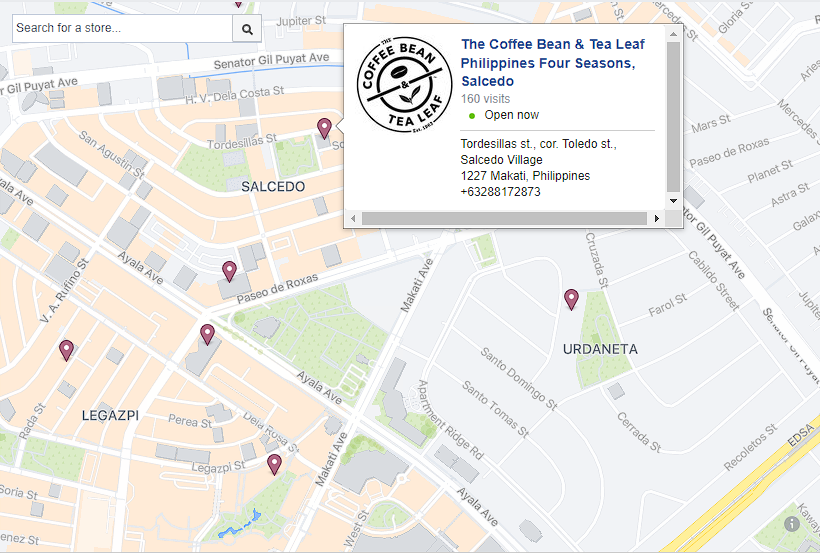
Click on a location pin to see if a location is open right now, how many visits* it has, and its NAP. Click on the Business Name and you’ll be directed to its Store Page.
*Visits are not always accurate as this depends on the privacy settings of a user. Even if you tag the Store Page, if you as a user set your privacy to Friends or Only You and not Public, your visit will not be counted in the number of visits.
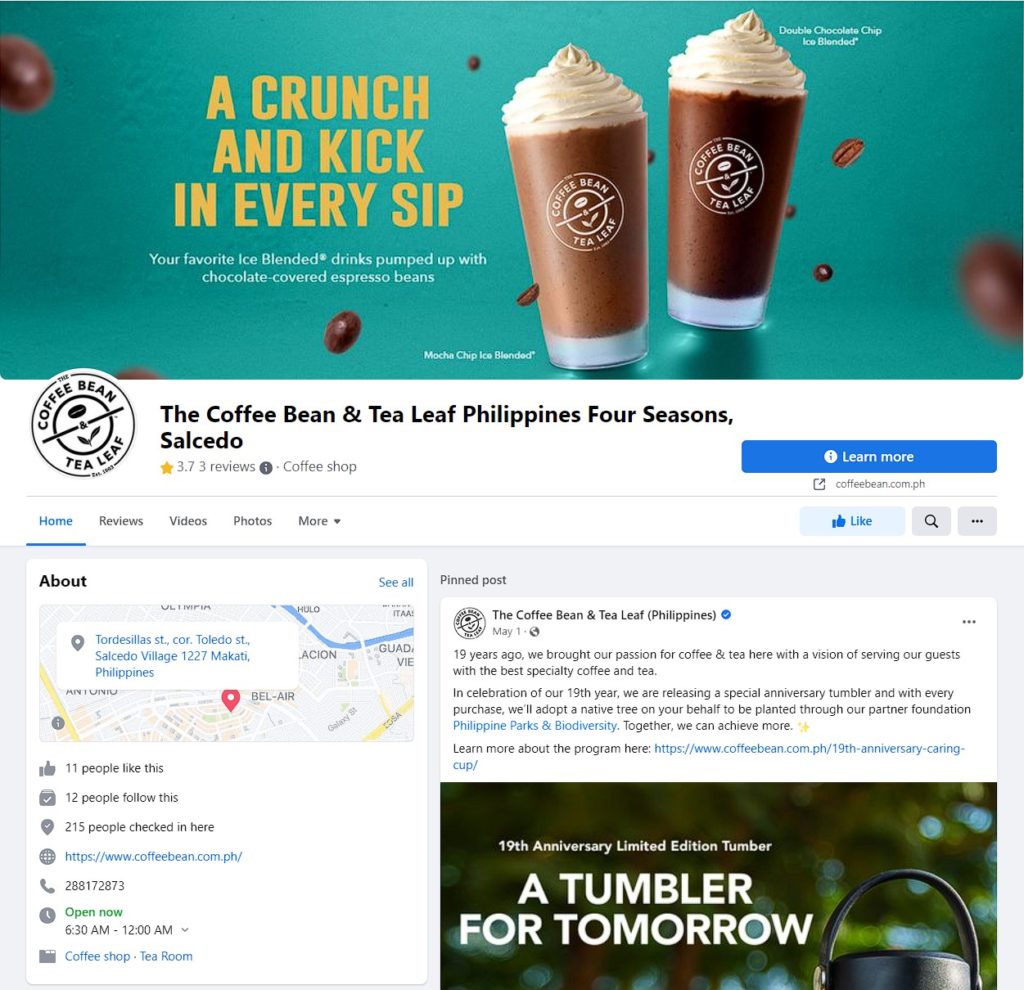
Here’s where you’ll see the difference between a regular Facebook Page and a Facebook Store Page: on the latter, you’ll see the NAP, trading hours, the category and updates. You can also like Store Pages as you would a regular FB Page and get location-specific updates from that Page as opposed to getting general information from their main Page.
Benefits of having a Facebook Store Page structure
You might think, “Oh, I can just tell area managers to create their own Facebook Pages,” but in reality, it’s going to be hard to manage – especially when you have several locations. Having a Facebook Store Page structure saves you time and resources in creating pages and you, along with your area managers, can easily manage them and keep external communication uniform all throughout.
Other benefits include:
- Managing location-specific details and content
- Collecting check-ins on the main Page
- Creating store-specific ads
How to create a Facebook Store Page
Creating a Facebook Store Page is easy enough – just follow these steps:
- Sign into https://business.facebook.com/business_locations/
- On the left-hand side, you will see a drop-down menu of your business accounts. Choose the one you will be adding store locations to.
- Click “Add Stores.”
- Choose your preferred method of how you will add stores.
- Add Manually – for only a few stores
- Add Multiple Stores – for more than 10 stores
- You will need to download the spreadsheet template if you choose this way. Click Next after selecting to download.
- Complete the sheet and then click Upload File
- Click Start Upload. Wait for your list to populate.
- Connect via API – for developers
- Connect to a Page – for connecting an existing store page to your main Page
- Fill out the information required. Review your information and press “Save.”
You can standardise your business info on Facebook with the DigitalMaas Platform
More often than not, your business will have a Google Business Profile and the information there needs to match with your Facebook Page or its corresponding Store Page. Using the DigitalMaas Platform, you can sync and overwrite data from your GBP onto Facebook and make sure that customers are seeing complete and accurate details each and every time, in each and every location you own. Make both Google and Facebook work for you by signing up for our Platform today!

